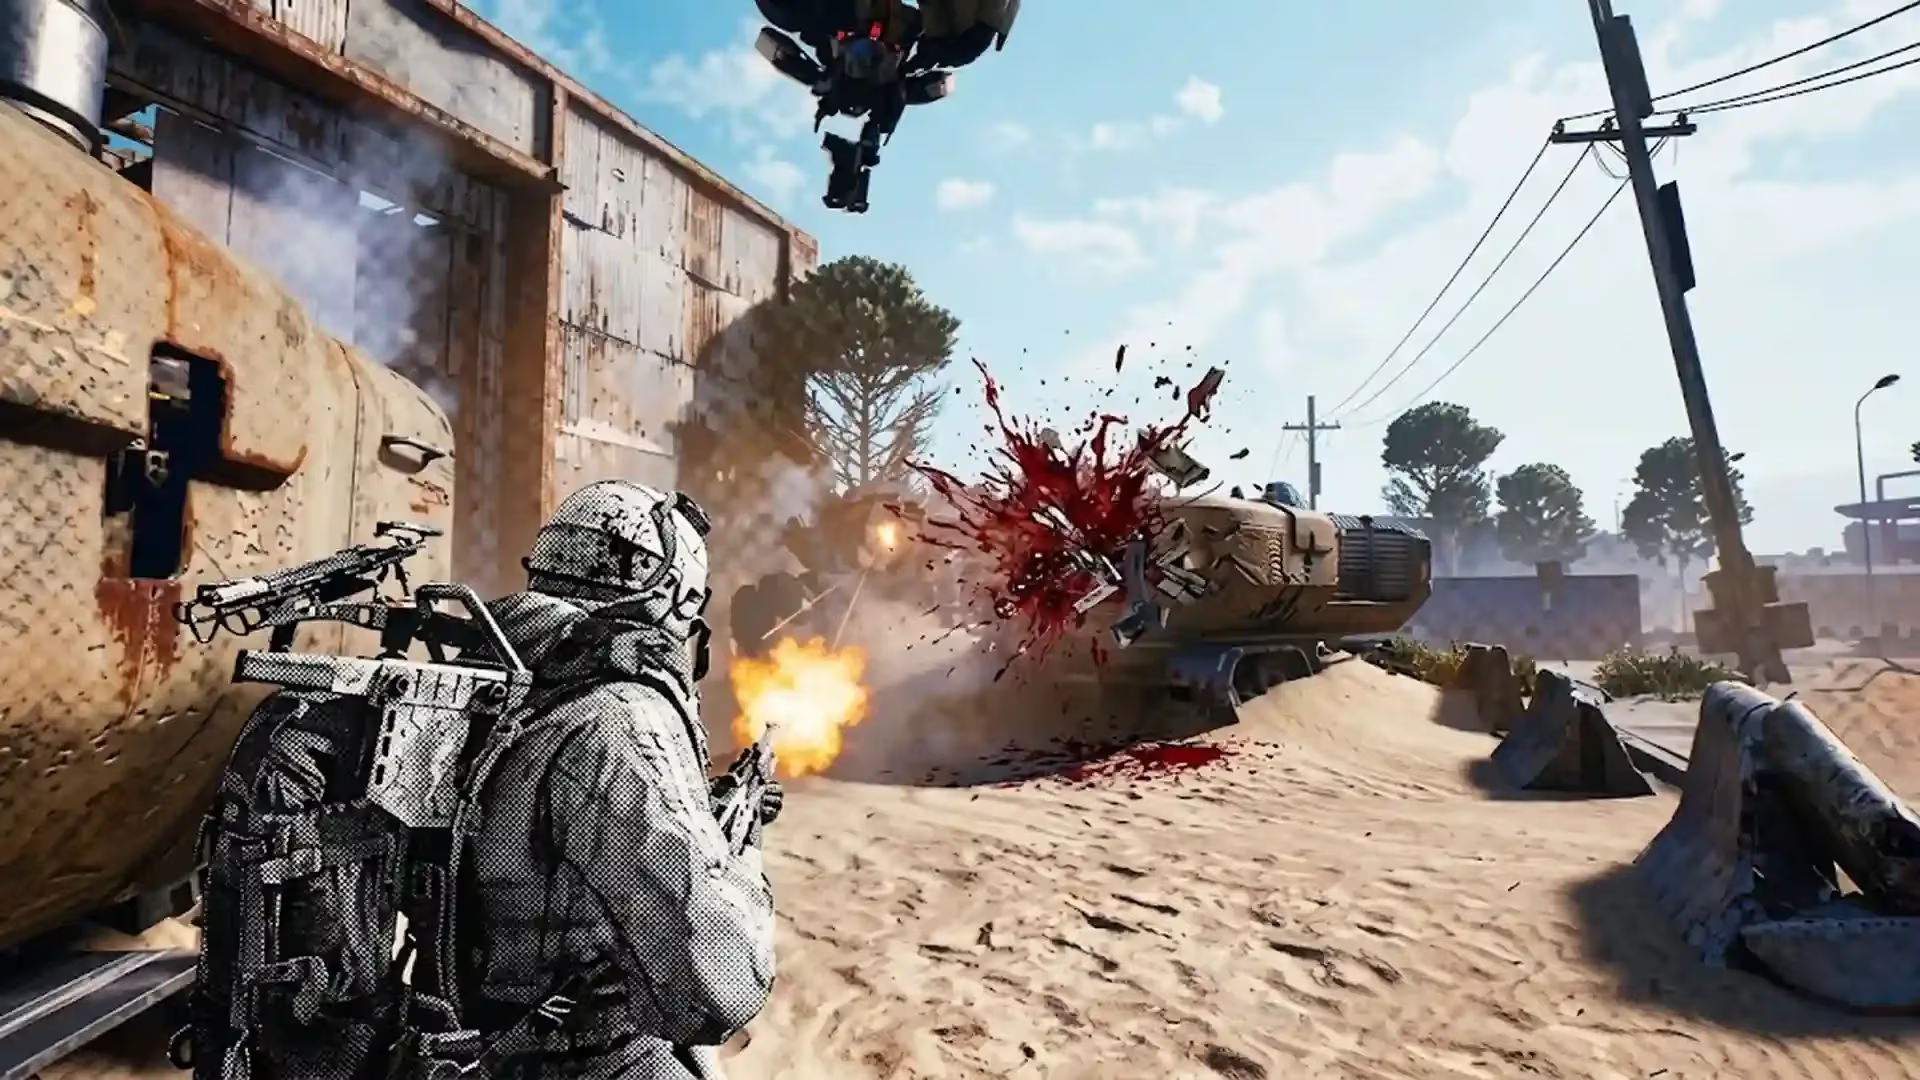
Getting a high score in the Damage Comets trial in ARC Raiders requires more than finding targets and opening fire. Solo players need to understand Comet behavior, choose efficient routes, and carry enough damage and mobility equipment to handle multiple encounters. If you are aiming for a personal score of 20,000 points, every engagement needs to count.
Blue Gate and Spaceport are two strong map choices for this challenge. Both offer useful elevation and opportunities to build zipline networks, while Electromagnetic Storm conditions can make target hunting more rewarding. A well-prepared route, reliable weapons, and Wolfpack grenades can help you destroy Comets efficiently and return with a strong score.
Understand Damage Comets Scoring
The Damage Comets trial rewards players for damaging Comets. Its regular milestone rewards are based on reaching 1,000, 2,000, and 3,000 points, with the highest milestone granting the three-star reward. Players looking to compete for a much higher personal score can continue dealing damage beyond these thresholds.
A fully destroyed Comet has been reported to provide around 600 points in some scoring setups, making clean kills a useful target for planning a high-score run. However, the exact score can depend on the active trial's scoring rules. Check the current Trials menu before entering a raid rather than treating one Comet's value as fixed.
Comets have thick outer armor protecting their vulnerable center. Your goal is to break through the armor and damage the inner core before the machine completes its charge and detonates.
A successful core kill gives you a better opportunity to earn damage credit and collect valuable loot. If a Comet detonates on its own, you lose the chance to finish that target cleanly. Keep your distance when possible and avoid letting it reach you before the core is destroyed.
Best Maps and Weather Conditions
Blue Gate and Spaceport are strong choices for players who want to build a repeatable Comet farming route. Both maps provide elevated positions and multiple areas to scan, making them suitable for a zipline-based approach.
Electromagnetic Storm conditions are worth looking for because they can change ARC activity and create opportunities to encounter multiple targets close together. Some players report seeing two or three Comets around the same area during these conditions. Treat clustered spawns as an opportunity rather than a guaranteed event, since spawn patterns can vary between raids.
| Map | Main Advantage | Suggested Zipline Setup |
|---|---|---|
| Blue Gate | Large coverage area and connected elevated routes | Around 15 for a basic network, up to 30 for an extensive circuit |
| Spaceport | More compact route with good visibility | Around 8–9 |
Blue Gate is better suited to players willing to invest time in building a large traversal network. Spaceport is a more straightforward option if you prefer a smaller setup and quicker access to common target areas.
Blue Gate: Build a Connected Zipline Circuit
Blue Gate's mountainous terrain and long distances between locations make ground travel time-consuming. A connected zipline network helps you move between elevated positions, scan for Comets, and return to the route after each engagement.
Start at the Overlook Airshaft and connect the following areas:
- Overlook Airshaft
- Central gate control room
- Outer gates
- Cliffside Airshaft
- Forest Airshaft
- Return toward the Overlook Airshaft
A basic route can use approximately 15 ziplines. For a more extensive high-score setup, you can expand the network to around 30. More connections provide additional travel options and make it easier to cover different parts of the map.
Once the circuit is ready, ride above the terrain and watch for Comet movement. When you spot a target, descend to engage it, destroy its core, and return to the nearest zipline. This reduces unnecessary running and helps you revisit spawn areas while searching for new targets.
The key is to keep the route connected. Avoid spending too many ziplines on isolated lines that do not help you reach another useful observation point.
Spaceport: A Faster Zipline Setup
Spaceport requires fewer ziplines and offers a more compact route for solo players.
Begin at the smaller buildings southwest of the main departure facility. Extend your network toward the top of the departure roof, then angle the route down toward the central elevator.
This setup uses around eight to nine ziplines and gives you a useful elevated view of common Comet spawn areas. From the roof, you can scan nearby structures and move toward targets without crossing the entire facility on foot.
The route is particularly useful during Electromagnetic Storm and Hidden Bunker events. Keep checking the surrounding area as you travel, since Comets can appear away from your immediate position.
When the trial timer is getting low, stop chasing distant targets and prepare to extract. The central and west elevators are practical options for the final departure, while the east elevator may require a less convenient route depending on your position.
Best Solo Loadout for Damage Comets
A good loadout needs to support mobility, sustained engagements, and quick damage against armored targets. You should have enough ammunition and healing to handle several encounters without returning to the same area repeatedly.
Consider bringing:
- Mobile equipment: Choose gear that supports fast movement between Comet locations and makes good use of your zipline network.
- Medical supplies: Carry enough healing items to recover after difficult engagements.
- Energy ammunition: Bring around five stacks if your chosen weapons rely on it.
- Wolfpack grenades: Keep these ready for encounters involving several Comets.
Your weapon choice should also match the target's armor. Heavy-hitting weapons can help break through the outer plating and reach the vulnerable center more efficiently. Avoid relying entirely on low-damage attacks when a Comet is close to detonating.
Use Wolfpack Grenades Against Clustered Comets
Wolfpack grenades are among the most useful explosives to bring when you expect to encounter multiple ARC targets together.
An Epic-rarity Wolfpack releases twelve homing missiles after detonation. These missiles can spread their damage across nearby targets, making the grenade particularly valuable when two or three Comets appear in the same area.
Instead of spending time fighting each Comet separately, you can throw a Wolfpack into a clustered group and let its missiles attack the targets. This can shorten the engagement and give you a better chance of destroying several Comets before they detonate.
The exact damage and outcome depend on target positioning and the condition of each Comet. Do not assume every throw will destroy all three cores automatically. Check the targets after the explosion and finish any remaining damage with your weapon.
Wolfpack Crafting Materials
Wolfpack grenades require several resources:
- Explosive Compounds
- ARC Motion Cores
- Rocketeer Drivers
Prepare these materials before your run so you have enough grenades for high-value encounters. Since Wolfpacks are particularly useful against clustered targets, save them for situations where one explosive can affect multiple Comets.
How to Improve Your Solo Score
A strong run depends on how efficiently you move between targets and how reliably you finish each encounter. Use these priorities to keep your route productive:
- Choose favorable conditions: Look for Blue Gate or Spaceport during an Electromagnetic Storm if you want to search for clustered spawns.
- Build your zipline network: Prepare connected routes that let you scan multiple areas without excessive ground travel.
- Target the inner core: Break the outer armor and keep damaging the vulnerable center before the Comet detonates.
- Use Wolfpacks strategically: Save them for groups of Comets rather than spending them on every isolated target.
- Manage ammunition and healing: Carry enough supplies for repeated engagements.
- Watch the extraction timer: Leave enough time to reach an elevator and secure your run.
Remember that trial points are banked when you successfully extract. A high score only matters if you make it back safely, so avoid starting a distant fight when there is not enough time to finish it and reach an extraction point.
Good preparation also makes repeated attempts easier. Keep ARC Raiders Coins available for your equipment and loadout plans, and consider whether you want to buy ARC Raiders Coins as part of preparing your next set of runs.
Build a Better Route for Every Run
The Damage Comets trial rewards players who combine efficient traversal with consistent damage. Blue Gate offers room for a large zipline circuit, while Spaceport provides a simpler setup with fewer connections. Both can work well when you use elevated positions to locate targets and avoid wasting time traveling across the map.
Focus on breaking Comet armor, damaging the inner core, and using Wolfpack grenades when several targets appear together. With a suitable loadout, a connected route, and a reliable extraction plan, you can turn each raid into a more productive high-score attempt.