In this Forza Horizon 6 session, a head-to-head rivalry escalates through multiple disciplines—drift zones, circuit racing, drag racing, and off-road events—blending mechanical skill, tune selection, and aggressive racecraft. What begins as a confidence-driven challenge quickly turns into a multi-event competitive breakdown where consistency and adaptation matter more than raw speed.
The structure of the competition is simple: same-level fairness rules in most events, shared cars in key races, and rotating class restrictions to isolate driver skill. The outcome, however, is anything but clean.
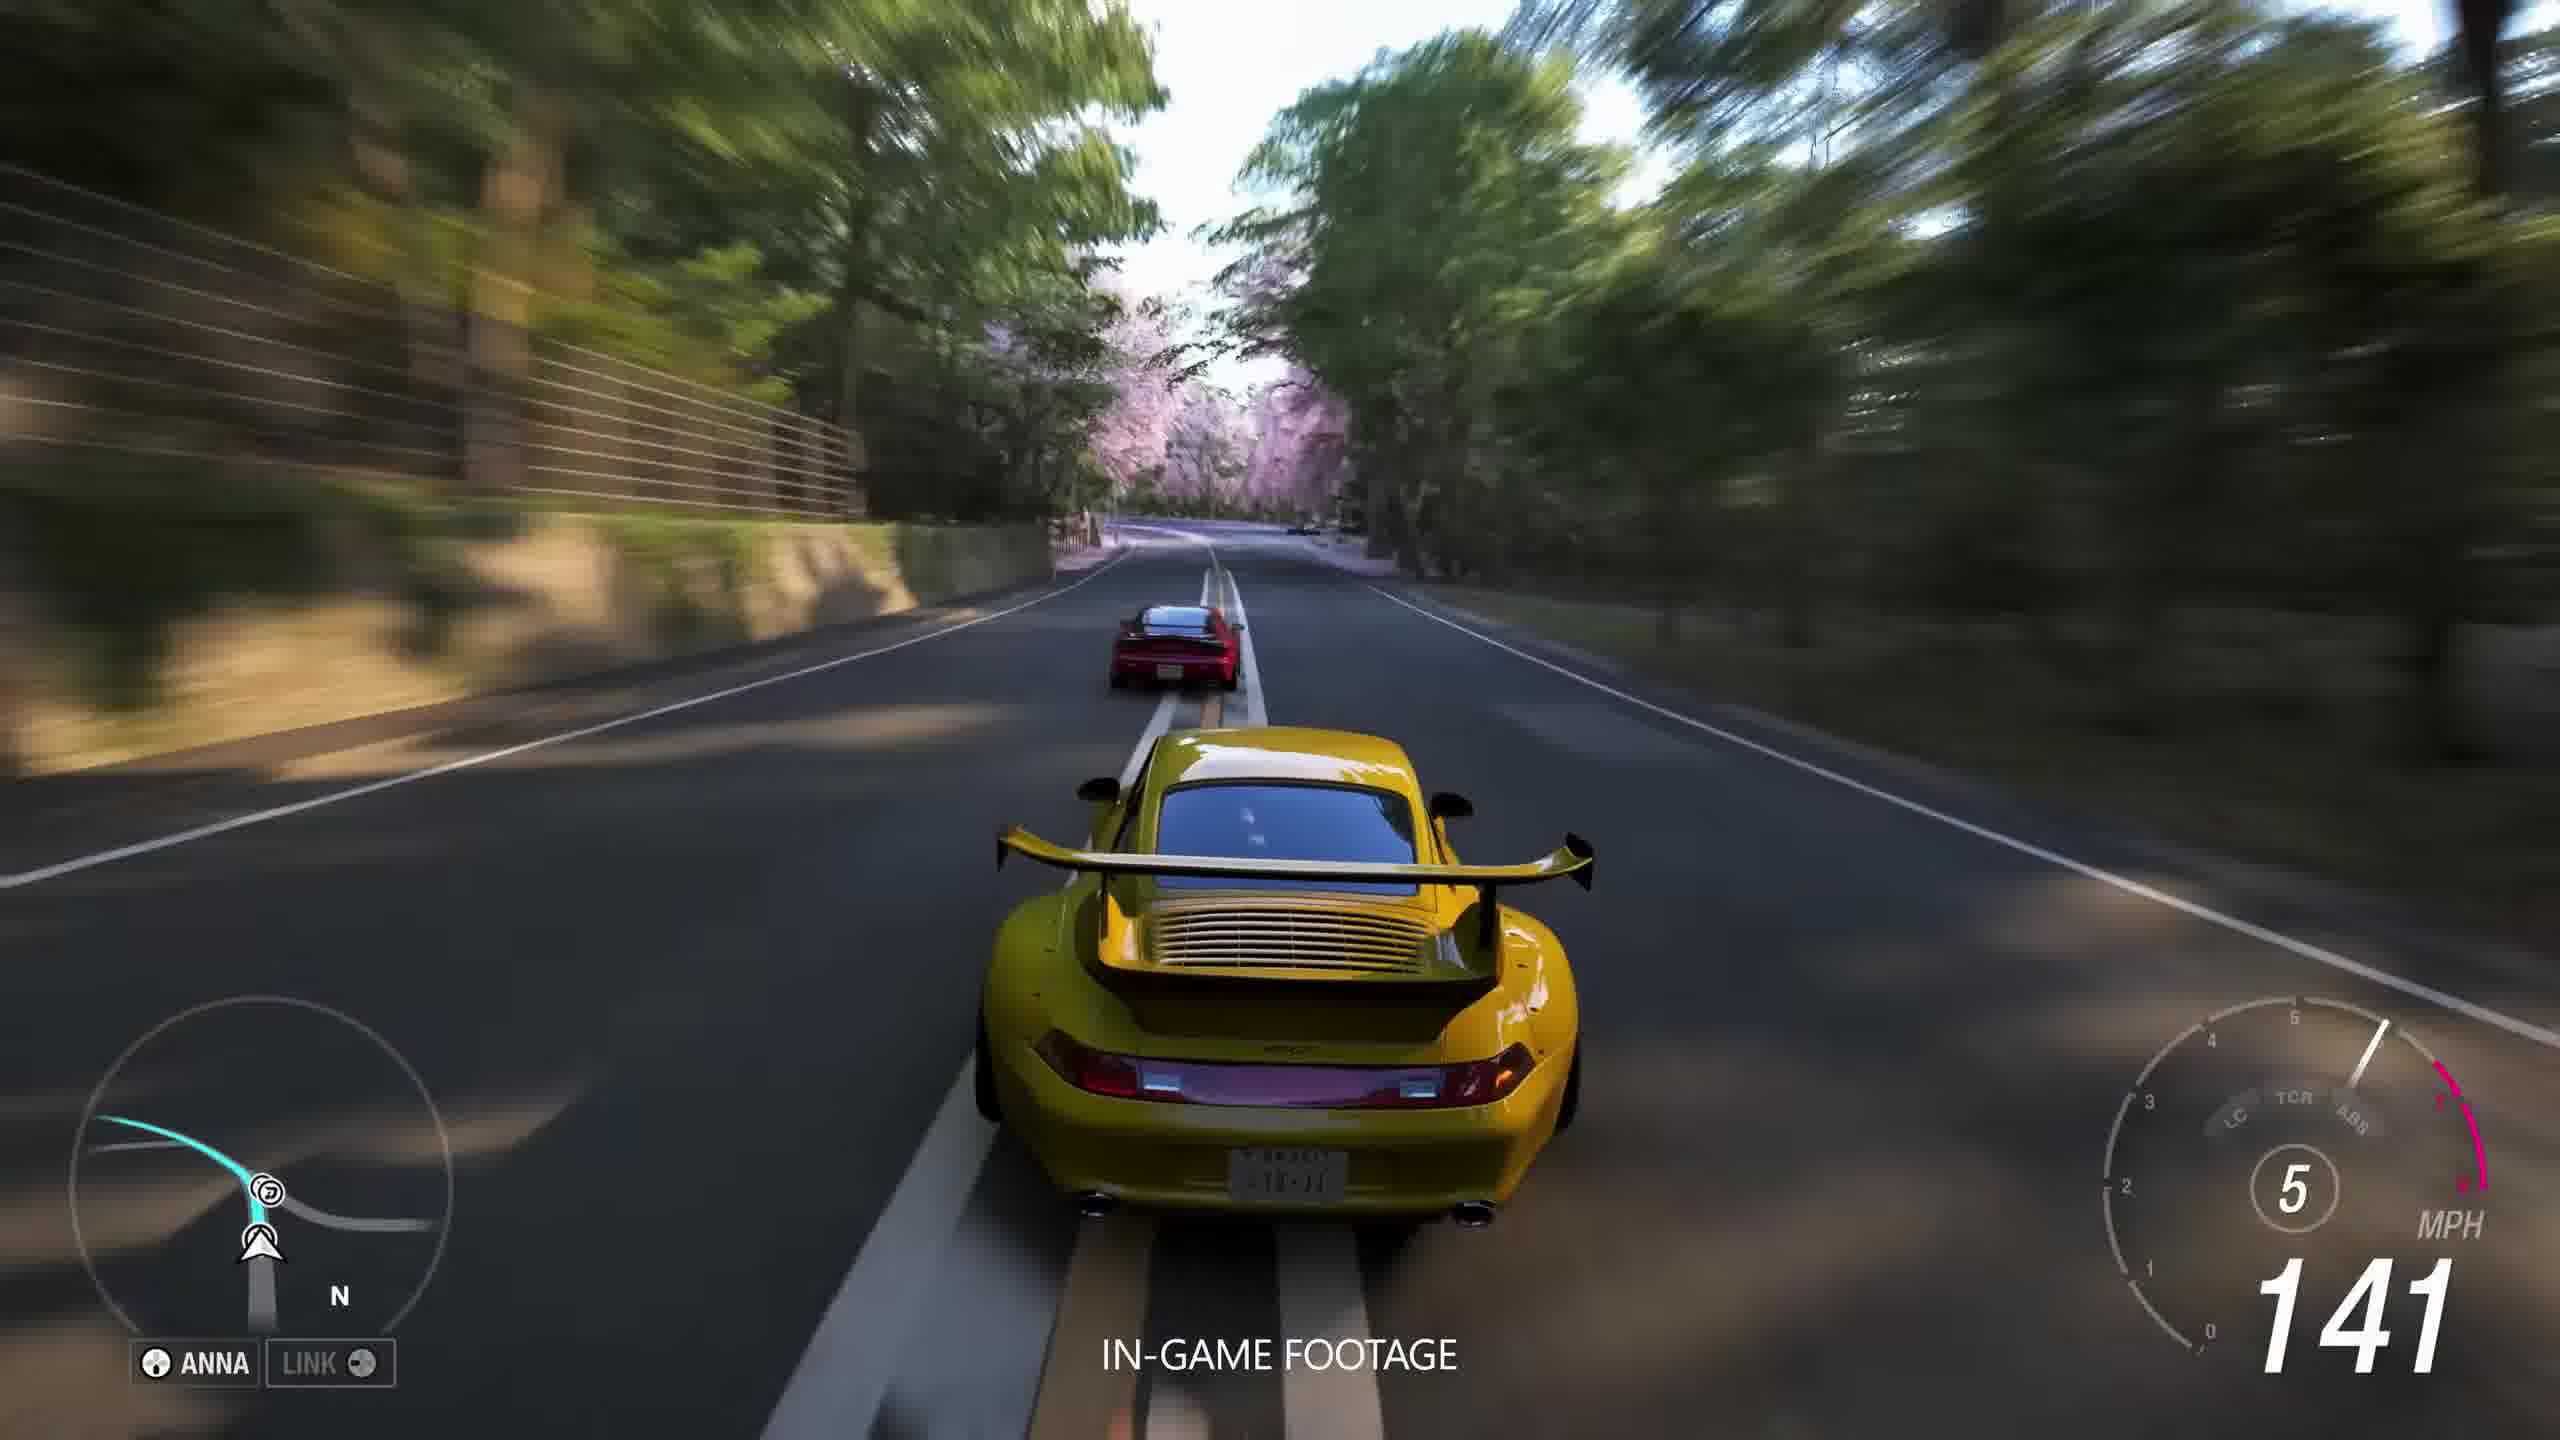
Event Overview and Results Matrix
Below is a consolidated breakdown of each event, vehicles used, and outcomes:
| Event # | Discipline | Cars Used | Class | Key Factor | Winner |
| 1 | Drift Zone | Supra vs Chaser | N/A | Angle control & initiation | Goose (Ant 0–1 Goose) |
| 2 | Circuit Race | Lambo vs Evo 6 | A Class | Wall usage + corner exits | Goose (1–1) |
| 3 | Off-Road | Identical “Jimmy” build | C Class | Clean traction management | Goose (2–1) |
| 4 | Drag Race | RX-7 vs tune build | B Class | Launch + shift timing | Goose (3–1) |
| 5 | Drift Zone | GR86 vs Charger Daytona | Mixed drift builds | Line consistency | Goose (4–1) |
| 6 | Circuit Race | S2000 (stock) | S2 Class | Technical driving | Goose (5–1) |
| 7 | Off-Road Finale | Celica GT4 ST205 | C Class | Mistakes under pressure | Ant (5–2) |
Drift Battles: Skill vs Style
Supra vs Chaser Drift Zone
The opening drift event immediately establishes contrast in driving styles. One driver focuses on controlled angle chaining, while the other struggles with consistency and point accumulation.
Key performance differentiators:
- Entry angle stability
- Drift zone continuity
- Wall contact penalties (or lack thereof)
Result: Early momentum goes to Goose, setting a psychological tone.
GR86 vs Charger Drift Rematch
The second drift challenge escalates difficulty with higher horsepower drift builds and less forgiving transitions.
Technical observations:
- GR86 build favored responsiveness
- Charger required higher throttle modulation to avoid over-rotation
- Link consistency determined final scoring spread
| Metric | GR86 (Goose) | Charger (Ant) |
| Average Link Length | High | Medium |
| Correction Frequency | Low | High |
| Final Score | 162 | 151 |
Even in a closer contest, smoother transitions proved decisive.
Circuit Racing: Where Discipline Breaks Down
Circuit events expose driving discipline—or lack thereof—under sustained pressure.
A-Class Circuit (Lambo vs Evo 6)
This race introduces aggressive tactics, including wall riding and defensive blocking. While controversial, it becomes part of the meta strategy.
Core performance factors:
- Exit speed over apex precision
- Shortcut exploitation
- Corner recovery time
Outcome swings due to:
- Contact-heavy driving
- Corner exit acceleration dominance
S2-Class Stock Challenge (S2000)
The most “pure skill” race of the session removes tuning advantages entirely.
Vehicle parity conditions:
- Identical stock S2000 platform
- No tuning modifications
- Equal starting conditions
Performance insight:
- Gear discipline becomes critical
- Brake timing defines lap consistency
- Small mistakes compound heavily over laps
Result: Goose maintains a narrow but consistent advantage despite pressure.
Off-Road Control: Traction Management Under Pressure
Off-road segments introduce unpredictable surface grip and vehicle instability.
C-Class Jimmy Match
With identical setups, this becomes a pure execution test.
Key mechanics:
- Weight transfer on loose surfaces
- Throttle feathering through corners
- Recovery speed after minor collisions
This event highlights one of the most important truths in Forza Horizon 6: identical cars do not guarantee identical outcomes when driver inconsistency enters the equation.
Celica GT4 Finale (High-Stakes Off-Road)
The final race intensifies pressure with both players fully committed.
Critical moment:
- One driver suffers a destabilizing crash on a corner exit
- The other maintains composure through final sector optimization
This race ultimately shifts the overall outcome due to error accumulation rather than raw speed.
Drag Racing: Pure Mechanical Execution
Drag racing removes cornering entirely, isolating:
- Launch reaction
- Shift timing accuracy
- Gear optimization window control
Even minor delays in upshifts or wheelspin control create irreversible gaps.
| Factor | Winner Impact |
| Launch Consistency | High |
| Shift Timing | Critical |
| Tune Efficiency | Medium |
Result: Goose dominates due to cleaner power delivery execution.
Strategic Meta Observations
Across all events, several meta patterns emerge:
- Aggressive driving (including wall interaction) can yield short-term gains in circuit racing.
- Clean racing dominates in technical stock events.
- Drift scoring rewards consistency over peak angle risk.
- Off-road events punish overcorrection more than understeer.
Interestingly, performance disparity shrinks significantly when vehicles are standardized.
Progression Economy Note
While not central to the rivalry itself, progression systems in Forza Horizon 6 increasingly tie performance flexibility to resource acquisition. Players often optimize builds faster using systems like FH6 Credits, enabling quicker access to competitive tuning setups and higher-tier vehicles without repetitive grinding.
For players looking to expand garage competitiveness, systems such as Buy Forza Horizon 6 Credits are often discussed within the broader ecosystem of progression acceleration, especially in competitive multiplayer environments where build parity matters.
Closing Outcome
Despite winning more individual events overall, the match swings on consistency under pressure in decisive moments. One driver’s errors in the final off-road race override earlier dominance in circuit and drag disciplines, demonstrating a core principle of Forza Horizon 6 competition:
Raw speed wins events, but control wins series.